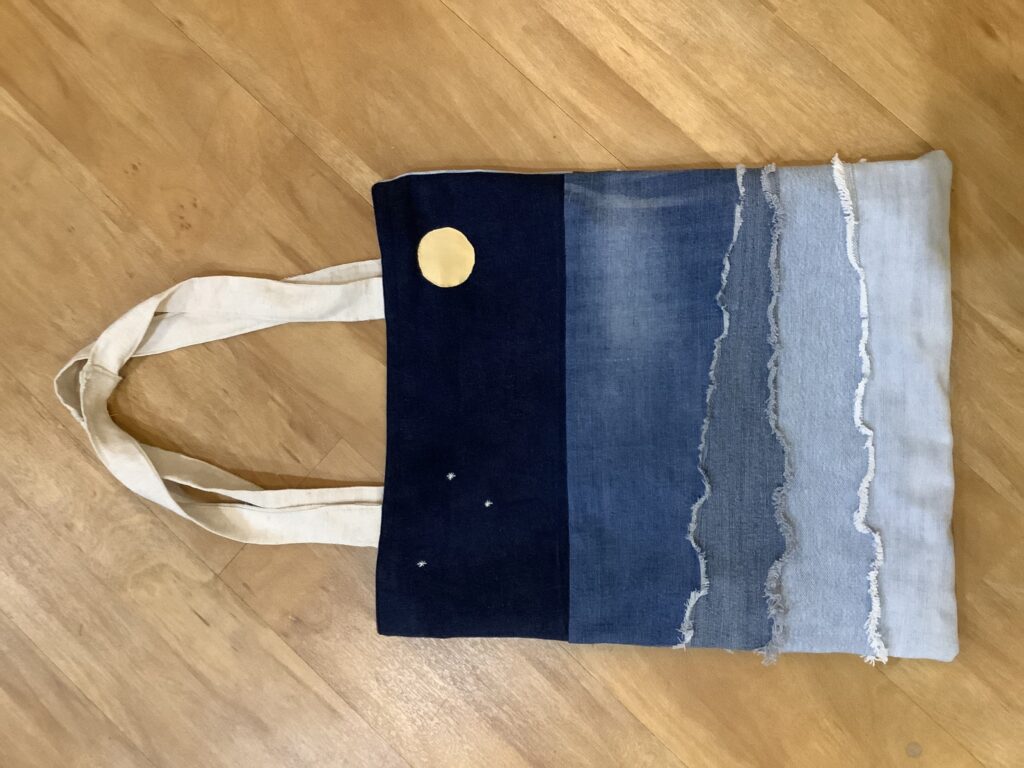
 This is another project for Intercept.
This is the other side of the bag.
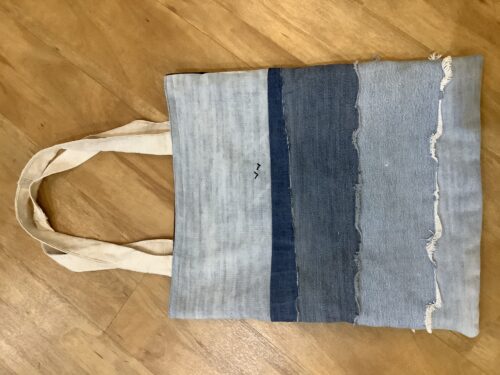 I have been having the image of this bag with seascape for a long time in my head;
- using old jeans with different colours for 3D effect
- using frayed edges to look like waves
- positioning the faded part of the fabric to look like a reflection of the moon or the sun
Finally, when finished the project (It did not take long to make a bag. I just had too many projects at a time...) , I put this on a page of a couple of facebook groups.
I was overwhelmed with lots of positive comments that I am so grateful for.
This is the first bag of this theme. So probably there is some room for improvement.
Hopefully, people who see this instruction will try their version of seascape on their bag and have fun.
What you need
- Pairs of jeans of different shades of blue (If you would like something like a night sky, you need some with really dark blue)
- Fabric for lining (I used an old bedsheet for this project)
- Fabric for handles (I used hems of old linen jacket)
- Fabric and thread for embellishment (I really wanted "the moon and the reflection", so I used a donated damaged yellow shirt made of rayon and polyester, which was perfect for "the moon" as the surface was slightly shiny.)
- A sewing machine (I guess you could sew everything manually but it will take a long time to finish the project....)
Instruction
- First, you decide the size of your bag. I wanted the size to accommodate some groceries or a laptop. So I made my one 27 cm x 42 cm (about 10.5 inch x 16.5 inch).
- Prepare some strips of denim fabric with different shades. The most important thing to remember here is you need to take fabric from the jeans and place it in the way that the "straight grain (the direction of warp) will be horizontal in the bag, and "cross grain (weft, which is usually white) will be vertical in the bag. Otherwise your "wave" won't be white! If you are making a bag of 27 cm x 42 cm, that will be the only way to get enough fabric. But if you are making a tiny bag, make sure you place the fabric in the right way.
- Decide what kind of seascape you would like and what kind of ratio of the part of the sky and the sea you like. My one is about 1/3 of the top being the sky and the rest being the sea. But you could make the sky wider and put some clouds etc, or you could make the sea wider and put more waves or other stuff like rocks etc, if you like.
I made " a frame" with thick paper (=an old poster to be discarded) and arranged the strips of fabric to decide the layout.
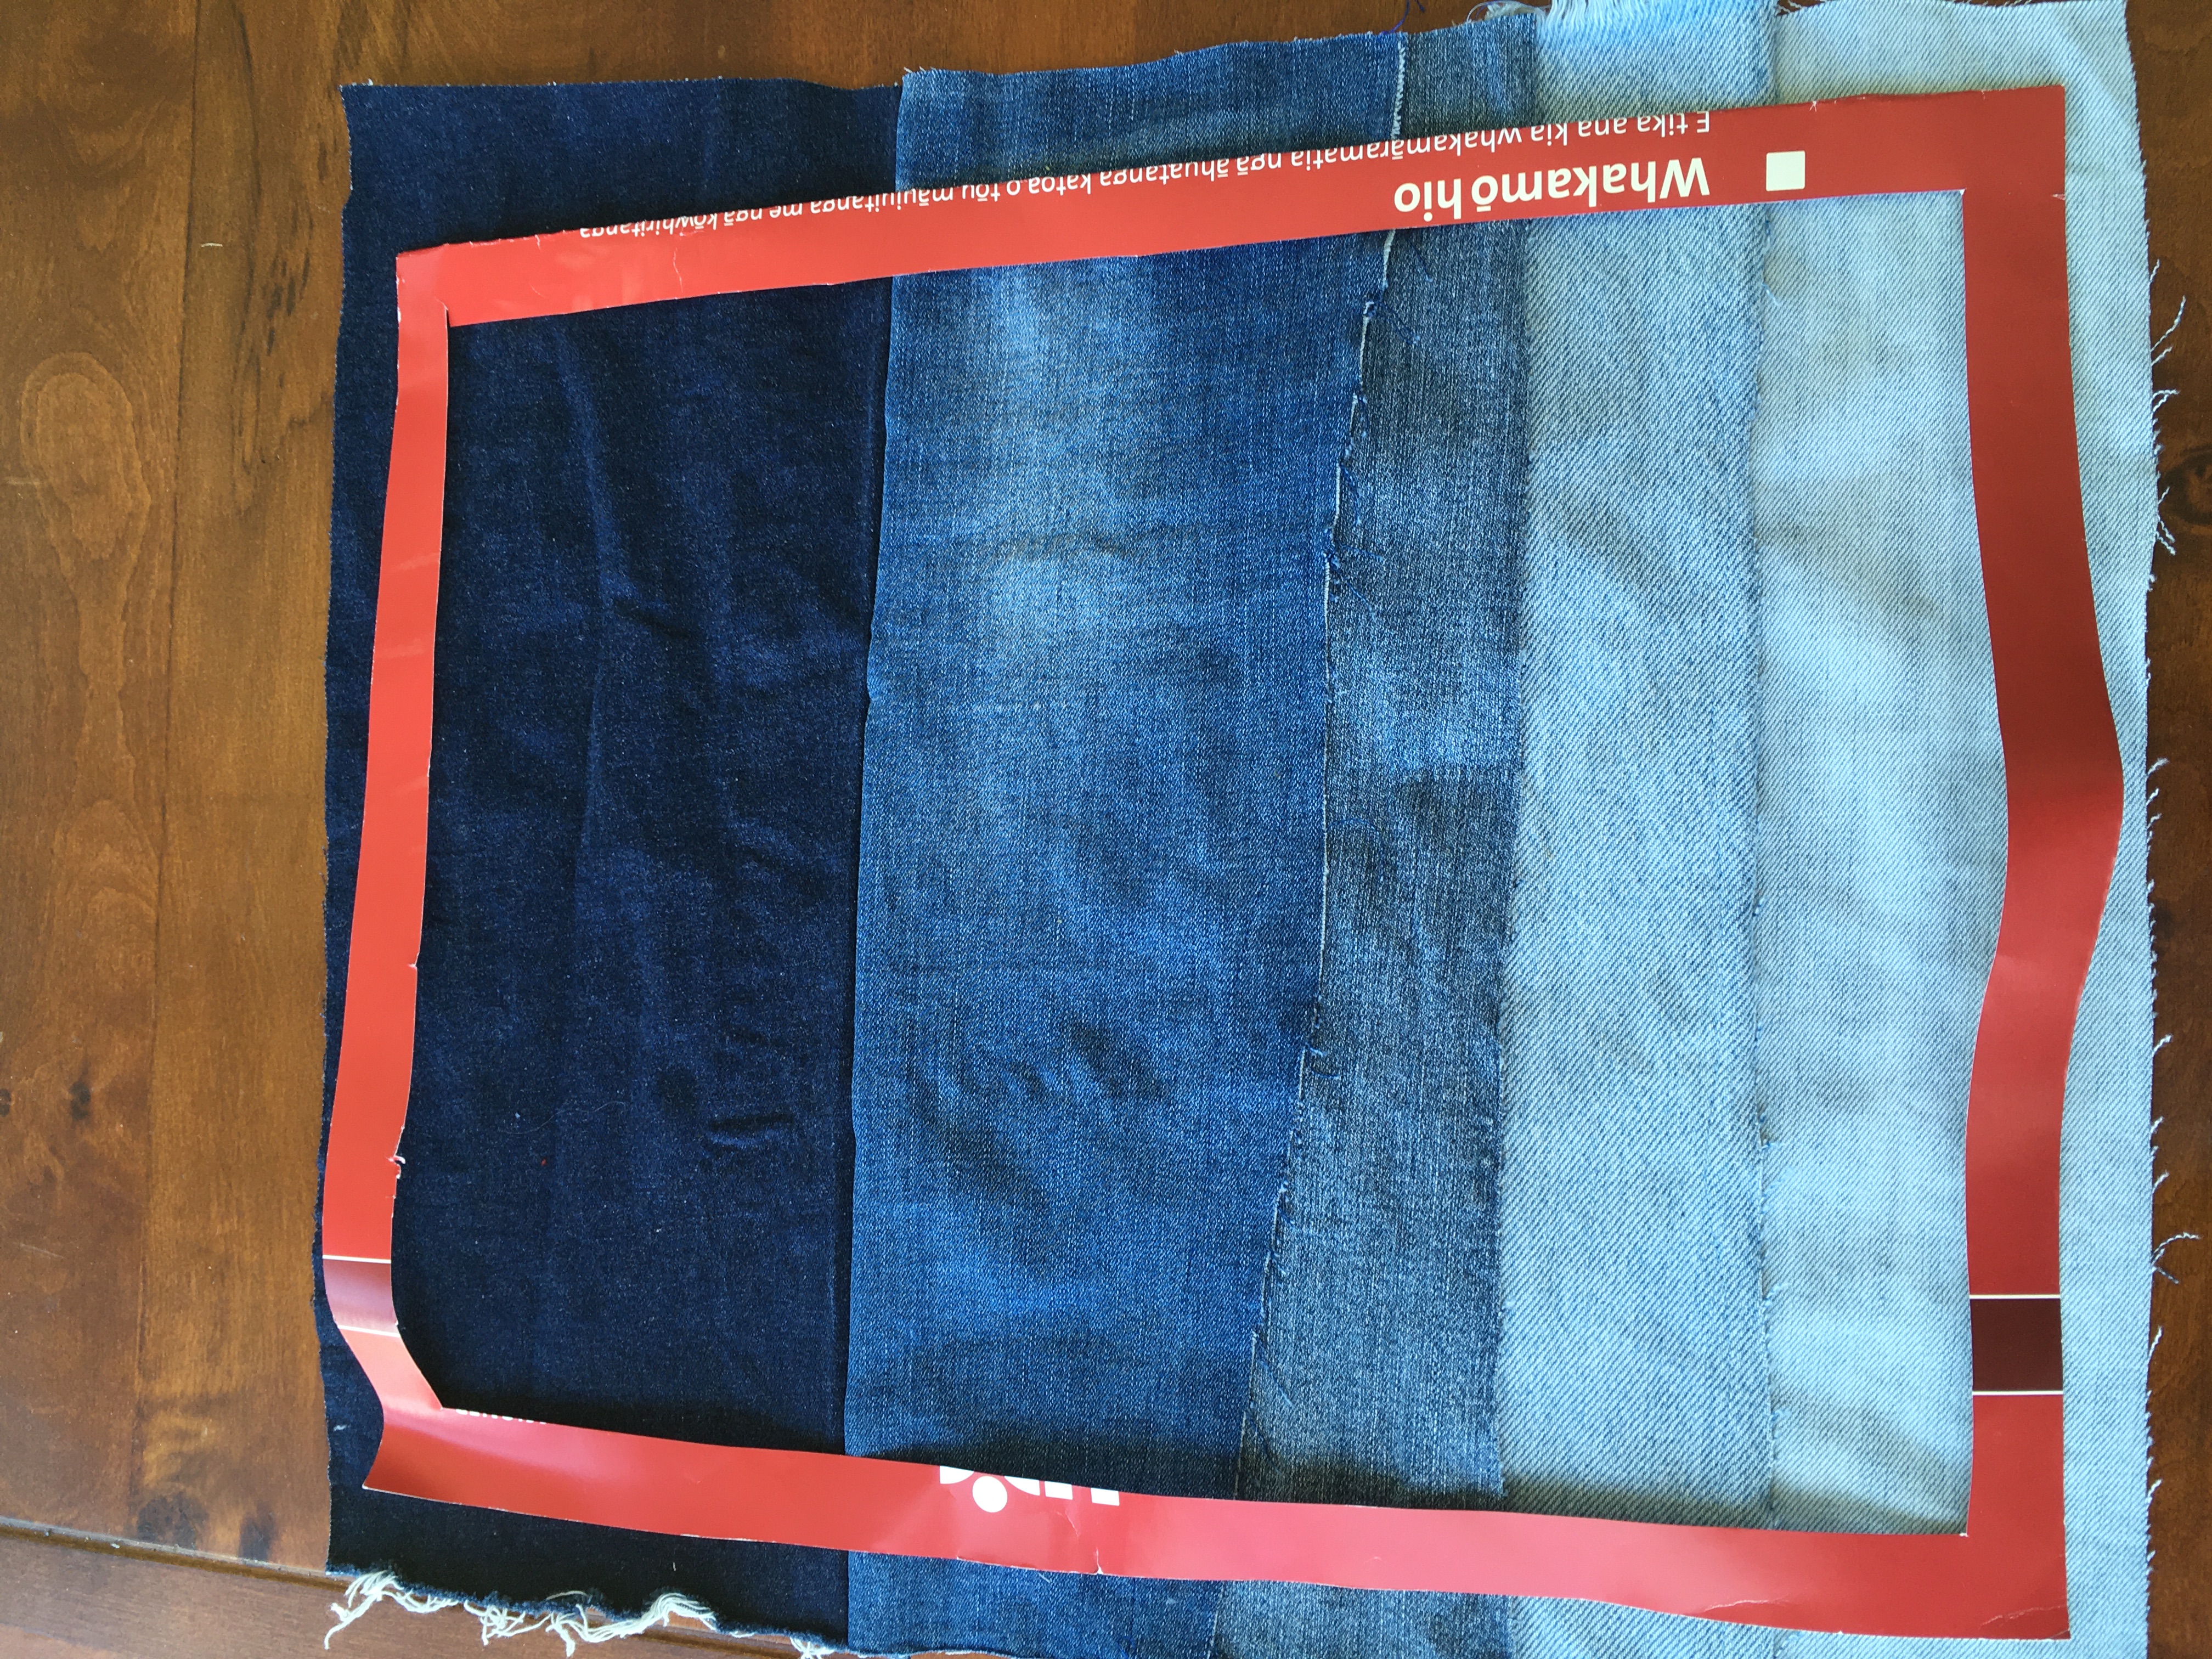
Once you are happy with the layout, pin the strips to prepare for the sewing.
4. When you sew the "sky part" part and the "sea part" next to "the sky" together, you put the right side of fabrics together so that there is no raw edge showing on the surface of the bag.
When you sew the "sea parts" together, you put the fabrics in a way that the layer closer to the "sky" goes over the other layer. Therefore the "waves" belong to the upper layer of fabric. I hope you can read my handwriting...
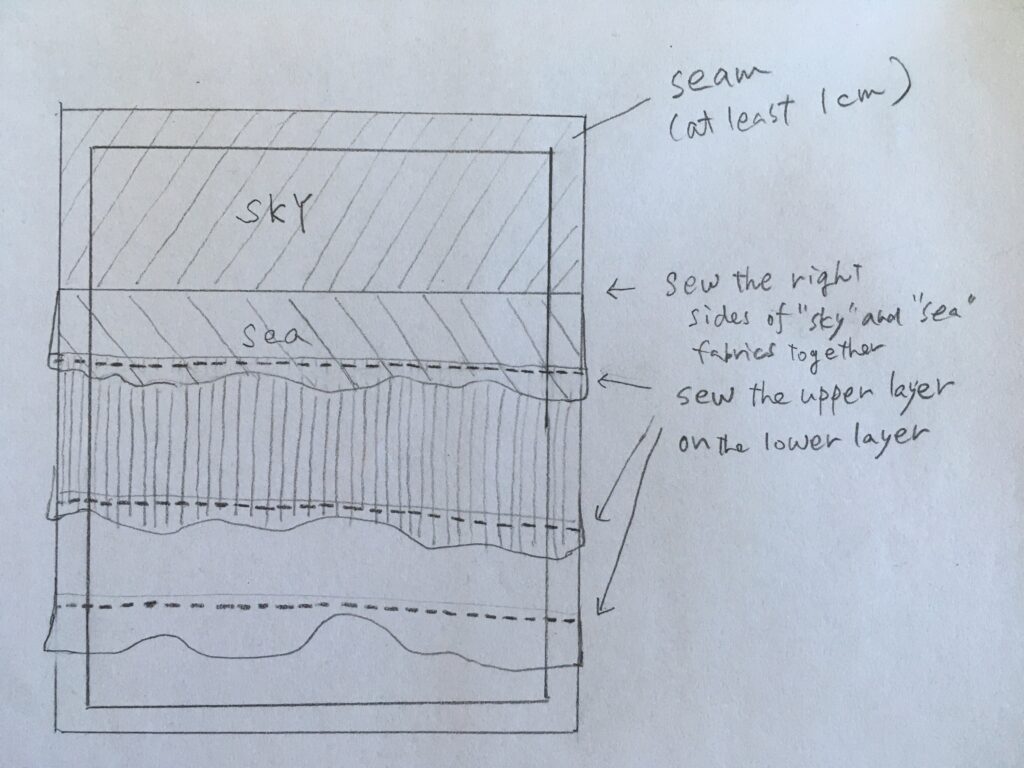
5. O.K. So, this is the most interesting part - making waves!
You removed some fiber off the raw edge of the fabric to fray.
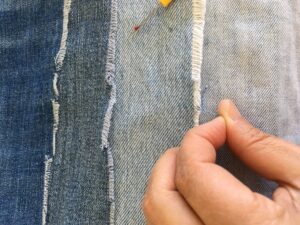
There are two main factors that determine the shape and the volume of the waves (Oh, well, there may be other factors that I might find out after making a few more similar bags....)
Factor 1 : The shape of raw edge
Factor 2: Folding and sewing raw edge upward (or not)
Factor 1
If you cut the edge almost straight, you will not have much "wave" but if you make the edge wavier, you will have a bigger wave.
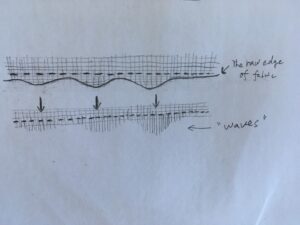
Factor 2
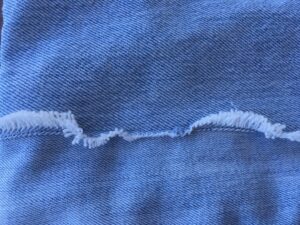
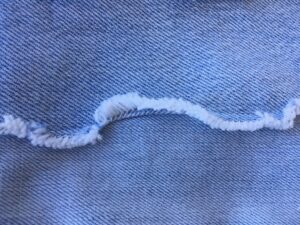
Especially if you make a big wave, you would like a wave to go upward. But probably you do not want all the waves to go upward.
So what I did was folding some parts upward and sewed the fabric to keep that shape. Where you want this effect, you saw on the upper layer fabric and where you do not want this effect, saw the lower layer fabric beneath the wave so it is not noticable.
I will show you close-up photos so that it is easy to understand.
6. If you would like "the sun", "the moon", "stars", " a boat", "a rock", "birds", etc, you can add at this stage.
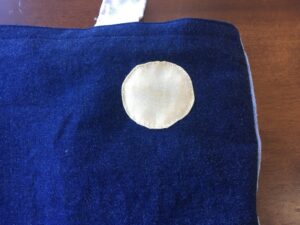
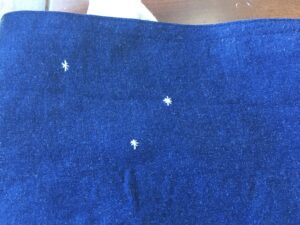
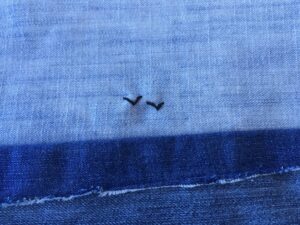
7. The rest of the process is the same as making a bag with a lining.
I cut hems of a worn linen jacket and turn them around to make handles. The lining is a worn bedsheet.
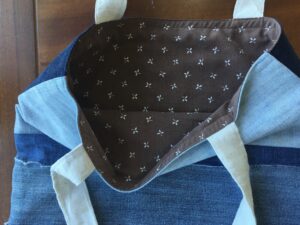
Sorry some photos are bit blurry. I hope my explanation is clear enough to understand the details.
I hope you enjoy making your own tote bag!